Hide Lists or Libraries from Site Contents page

In the Site Contents page, there can be many lists, libraries or other apps. While searching for a specific item this can be difficult if there are over 50 apps on the screen, some lists may just be used for back end results such as look-ups. So hiding lists and libraries that aren’t being used is simple, alternatively you could just Ctrl F the page and search your for your list. This change requires SharePoint Designer.

  1. Open SharePoint Designer and navigate to your list or library. On the information page, under settings is a tick box for “Hide from browser”, once ticked this will no longer show in SharePoint.
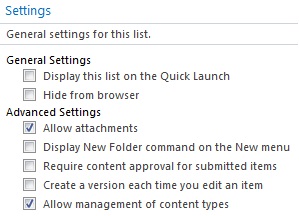
    HideFromBrowser

    Unfortunately, if you are wanting to unhide this, it will no longer display in the lists and libraries in SharePoint Designer (SPD). You will be required to go to the ‘All Files’ object and choose lists, this will then show the list that’s hidden. Find your list, right click and go properties, then remove the check box to hide the list.
Modifying the Ellipses

Within SharePoint the ellipses is used on the title column which is standard out of the box, unfortunately in my scenario the title column wasn’t being used and therefore, needed to transfer the ellipses to another column. This requires SharePoint Designer to change the column to what you want.

  1. Within SharePoint Designer, navigate to the list or library of your choice, in my case I’ve chosen a list. Within the list, choose a view to modify (usually the default view), right click the view and choose “Edit File in Advanced Mode”.
  2. Search for “<View Name=“, this is usually the longest line towards the bottom of the code. Find the part which states <FieldRef Name=”Your-Column-Name” /> and add ListItemMenu=”TRUE”. The end result should look like the below.
    ListItemMenuCode
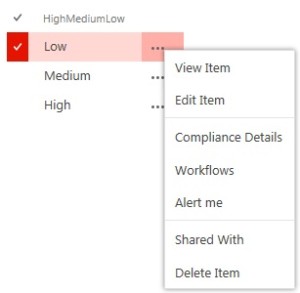
    When you check the result in SharePoint, the ellipses will now be showing on your new column.
    HighMediumLowEndResult